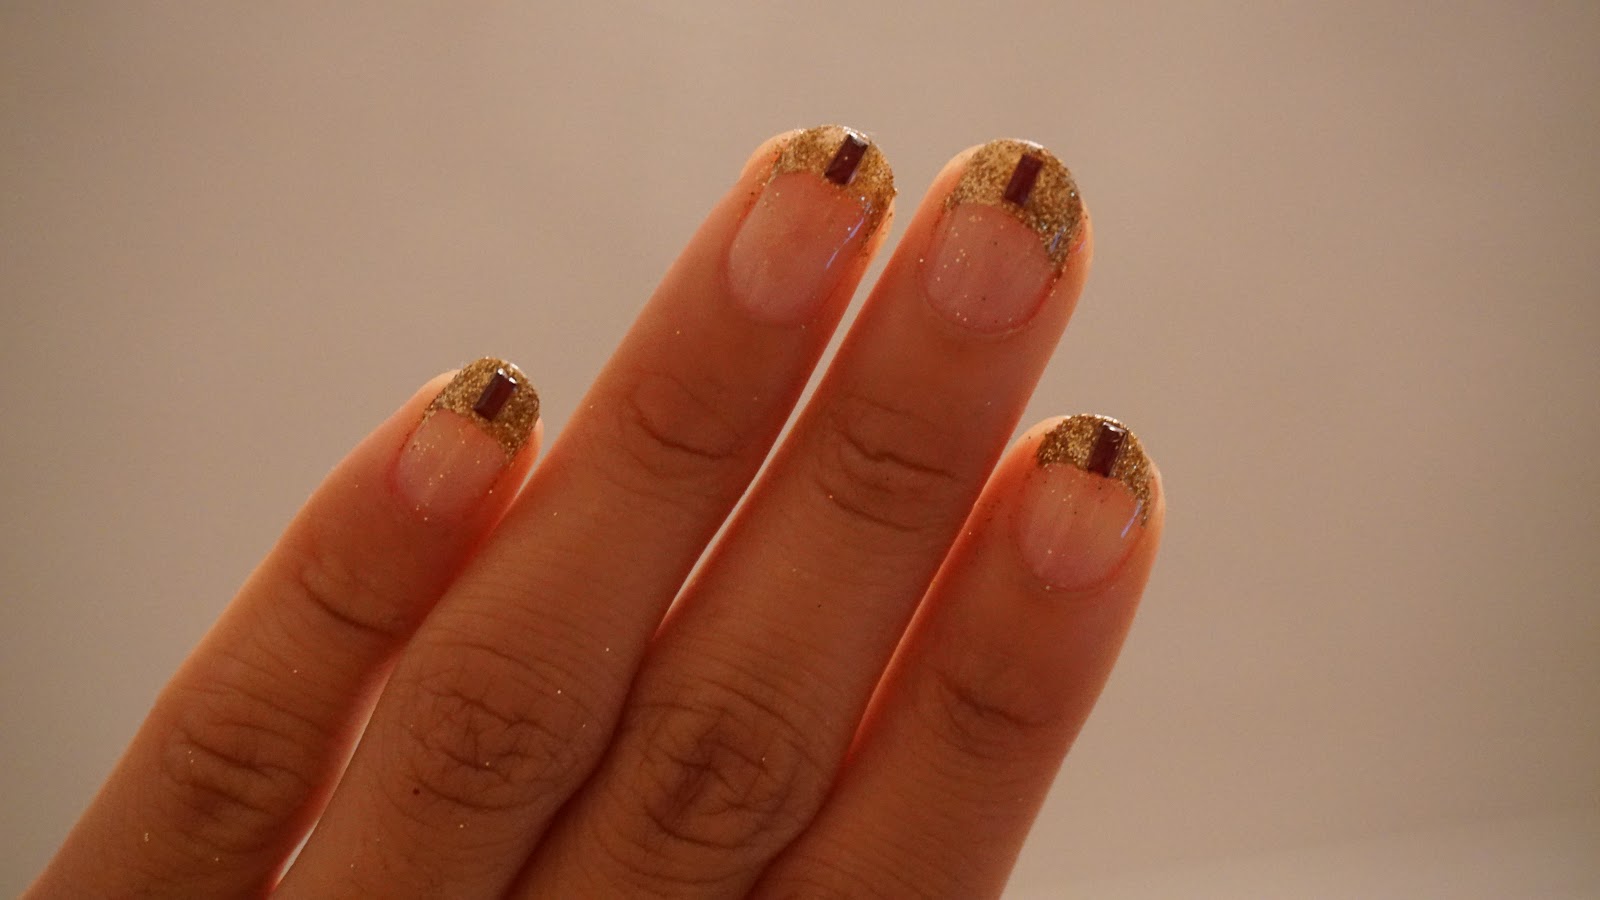
As is often the case with any nail art on this blog, the theme of the design has been interpreted
incredibly loosely. Nevertheless, it's a fun, festive design that's super simple to create and gives the impression of golden gifts (when in reality, it's craft gems stuck on top of a glitter mani but no one needs to know that!)
Start with Barry M's 'Peel It! Peel Off Basecoat' for ease of removal (just in case attempts 1, 2 or 32 are unsuccessful). Once dry, apply a substantial gold tip to the end of each nail using a sticker as a guide or free hand if you can. Having a guide to paint around definitely helps to keep the nails looking uniform but adding the glitter topper does hide a million mistakes, so complete accuracy isn't essential (thank goodness).
While the gold is still sticky, pour the glitter on top and lightly press or tap down to ensure it adheres. The glitter topper used here is Ciate's 'miracle on 34th' which is both seasonal and superbly shimmery. A cotton bud is great for dusting away any excess (and pouring the glitter over a folded piece of cards means you can tip any extra glitter back into the nail pot for next time).
When the excess glitter is removed from on top and around the tip of the nail, paint on a normal top coat paying extra attention to the centre of the glitter arch. Using a delicate hand (or tweezers for extra accuracy), gently place or drop a small gemstone into the centre and hold for several seconds. This part is particularly tricky and can often take more than one attempt. Wait for it to feel suitably secure and then cover the entire nail with a gel top coat and cure. There you have the loosest ever nail art design inspired by the
May your mani be merry this festive season.
There are apparently ten main types of cloud from which all other types of cloud exist. The clouds you're about to see in this nail art design are an accurate representation of none of these. Despite using clouds both real and plastic for reference, this cute cloud nail bed designs turned out a little less than accurate (but hey, forecasts aren't always accurate, right..?)
Easiest way to create this design is with a nail art pen (though it's probably no impossible to use a regular nail varnish brush if you have better skills than me, which isn't difficult). Paint two coats of your base colour(s) and wait for your nails to fully dry before attempting to draw the clouds (instructions my past self really ought to have obeyed).
Starting at one edge of the nail bed, draw a loose outline for your cloud. If you're happy with it, start to fill it in - if you want the design to look fuller and fluffier, extend the outline until you're satisfied, then fill in and wait to dry. Add a second coat to the cloud if looks a little transparent and if you're feeling real artsy, why not add some silver accents to create your very own silver lining?
(PS - the super cute cloud pin is from
Oh So Cherished over on Not On The High Street)
With Tennessee William's
Cat on a Hot Tin Roof currently playing at the Apollo Theatre, it seemed apt to create some loosely inspired nail art to match.
It would be oh-so fitting if the choice of base colour was a conscious choice and not just a very fitting accident (if you are familiar with Tennessee Williams you'll know he often referred to his low moods as 'blue devils'.) Every newspaper or literary print tutorial suggests using a pale or neutral colour as a base to help the print transfer show up, and Essie's Perfect Posture is a muted powder blue that fits the bill brilliantly.
It's probably best to follow instructions online (as this is certainly not an expert review) but essentially you soak a strip of paper letting it fully submerge and quickly apply it to your nail of choice (ensuring the base coat is fully dry first). Press and hold it firmly to the nail and then peel off gently. There is sometimes a little bit of paper residue stuck to the nail but this generally smooths down after a top coat is applied. Repeat the process for however many nails you want the writing printed on, ensuring you seal the design in with a clear top coat. You could also add a gel top coat for added security.
You also needn't worry that any form of sacrilege needs to occur in order to do this design yourself; just use the very back page of a playbook where it lists 'other titles by this author'. That way the play remains in tact and your nails are a display of print perfection.
I went to watch Maleficent a little while ago and I've been a bit obsessed with the soundtrack ever since. While most people tend to liken themselves to Disney princesses, I am weirdly proud to say I share more similarities with Maleficent! It's a running joke with my friends that I prefer puppies to children so Jolie's indifference towards the young Aurora definitely fed into that! The film got me thinking about my other favourite villains and since it's been ages since I drew or painted anything, I decided to embrace my inner villainy with some watercolour paintings. Then it struck me - I could take this one step further and create an OOTD and NOTD to match! First up is my polar opposite, the devilish dog-hating Cruella De Vil!
 |
White shirt - Primark
Leather look leggings - Dorothy Perkins
Dalmatian Print Creepers - Fashion Union |
Whilst I admire her commitment to monochrome, I'd never ever wear fur so I went for a slightly more modern take on the De Vil classic! I bought these Dalmatian Creepers probably over a year ago now but I've hardly worn them; I've been too scared to get the Dalmatian print dirty! I love them though, creepers are perfect for adding a subtle bit of height but are still comfortable and casual. My leather look leggings are probably one of my staple items, so easy to style and great with all types of top, from smart shirts to baggy tees!
For my nails I used Barry M's Matt White for the base and then Maybelline's Onyx for the paw print and the Dalmatian print spots. I had a bit of help from a wooden skewer to write the 'woof' but overall, I'm pretty proud of this nail art attempt!
In Part 2, I take on the Evil Queen from Snow White. Deliciously devilish!
Jade x
Just a quick post to certify my new found love for all things white. I was encouraged to pair white nail varnish with my floral playsuit by one of my housemates and I am so glad I went with her suggestion! I had tried white nails before, using a Natural Collection nail tip whitener in place of a proper bottle of nail varnish. It worked to an extent but was always quite difficult to paint evenly because the consistently felt much thicker. So of course I opted for a faithful bottle of Barry M and it's been a brill buy so far.
White nail varnish is definitely in fashion at the minute; I'm loving seeing it in magazines and whilst watching Sweat the Small Stuff (I'm weirdly obsessed with Nick Grimshaw), I saw Foxes sporting some lovely white nails too. It's such an easy way to freshen up an outfit and I love how the white really pops against my skin tone. The only problem is that when it chips, it seems more noticeable than with some other colours but it's definitely one of my favourite shades for spring so far.
Jade x
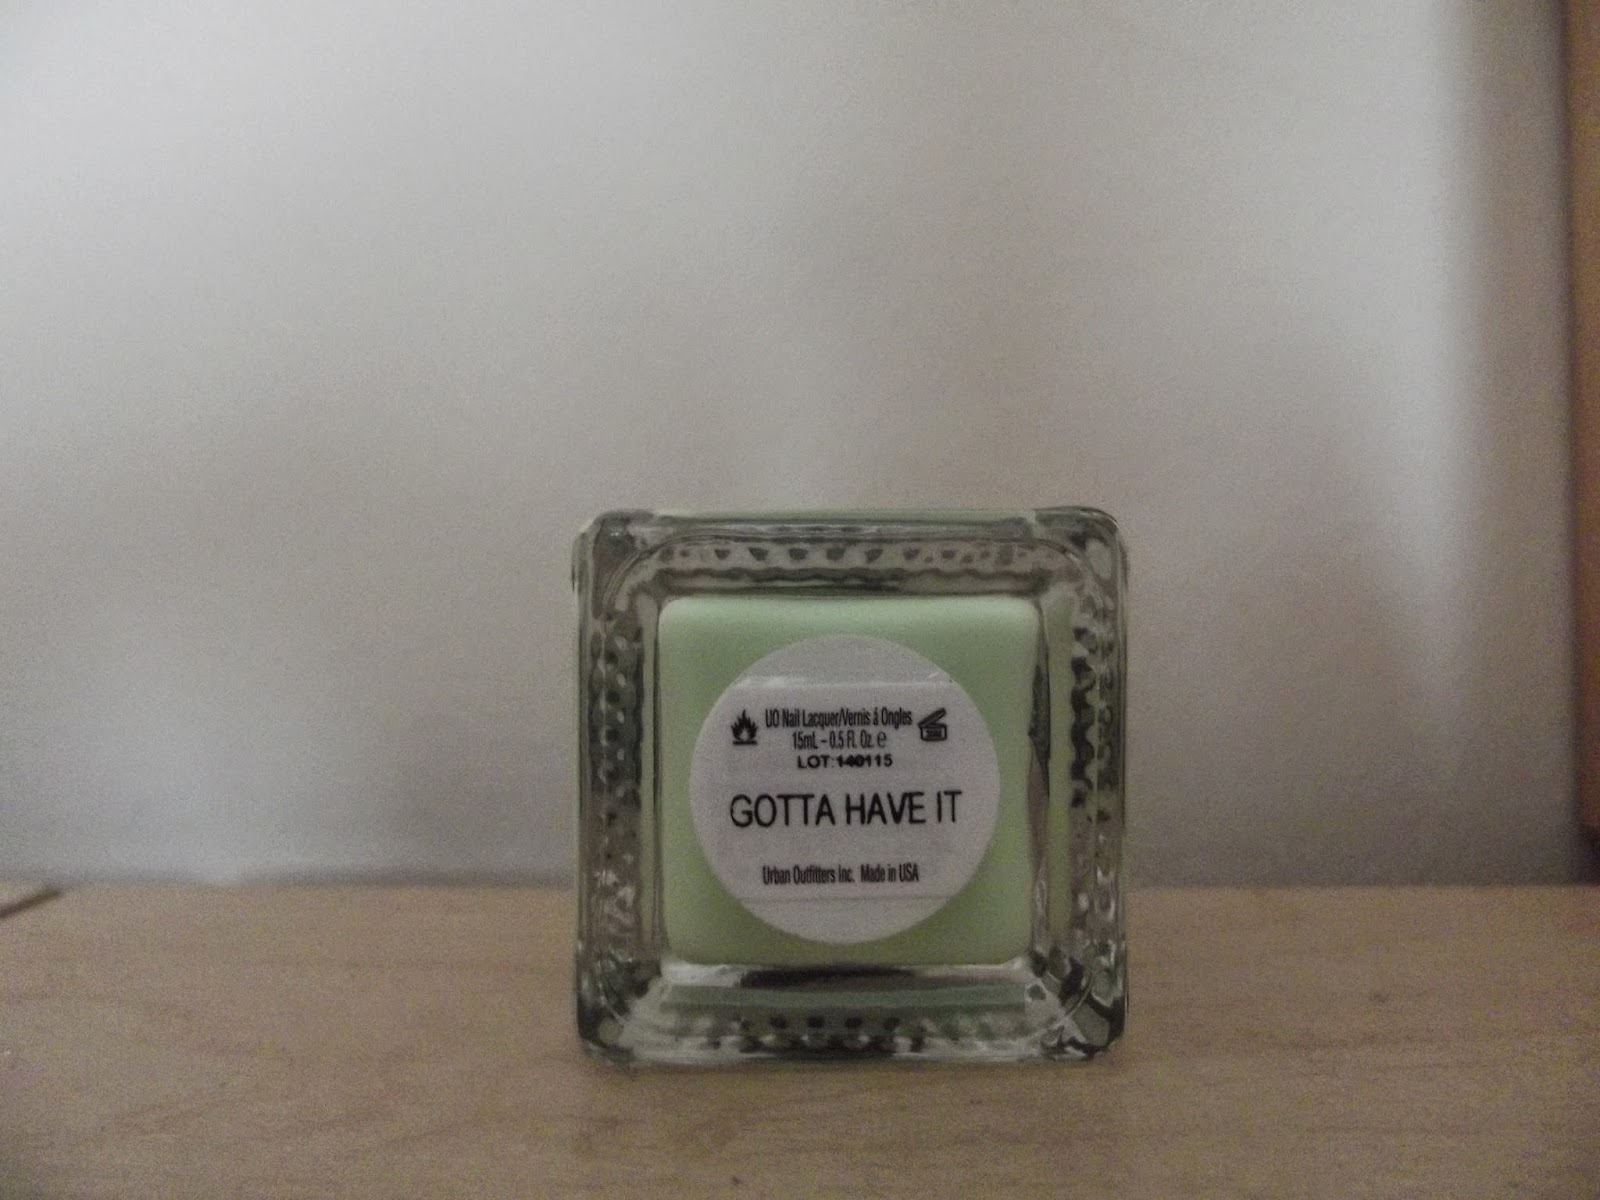
I am in love with this new Urban Outfitters nail varnish - the perfect colour for early spring. My little brother was lucky enough to take a trip to New York in February and brought back an amazing snowglobe and this Gotta Have It nail varnish as a belated birthday present. I gotta say, boy did good!
Jade x
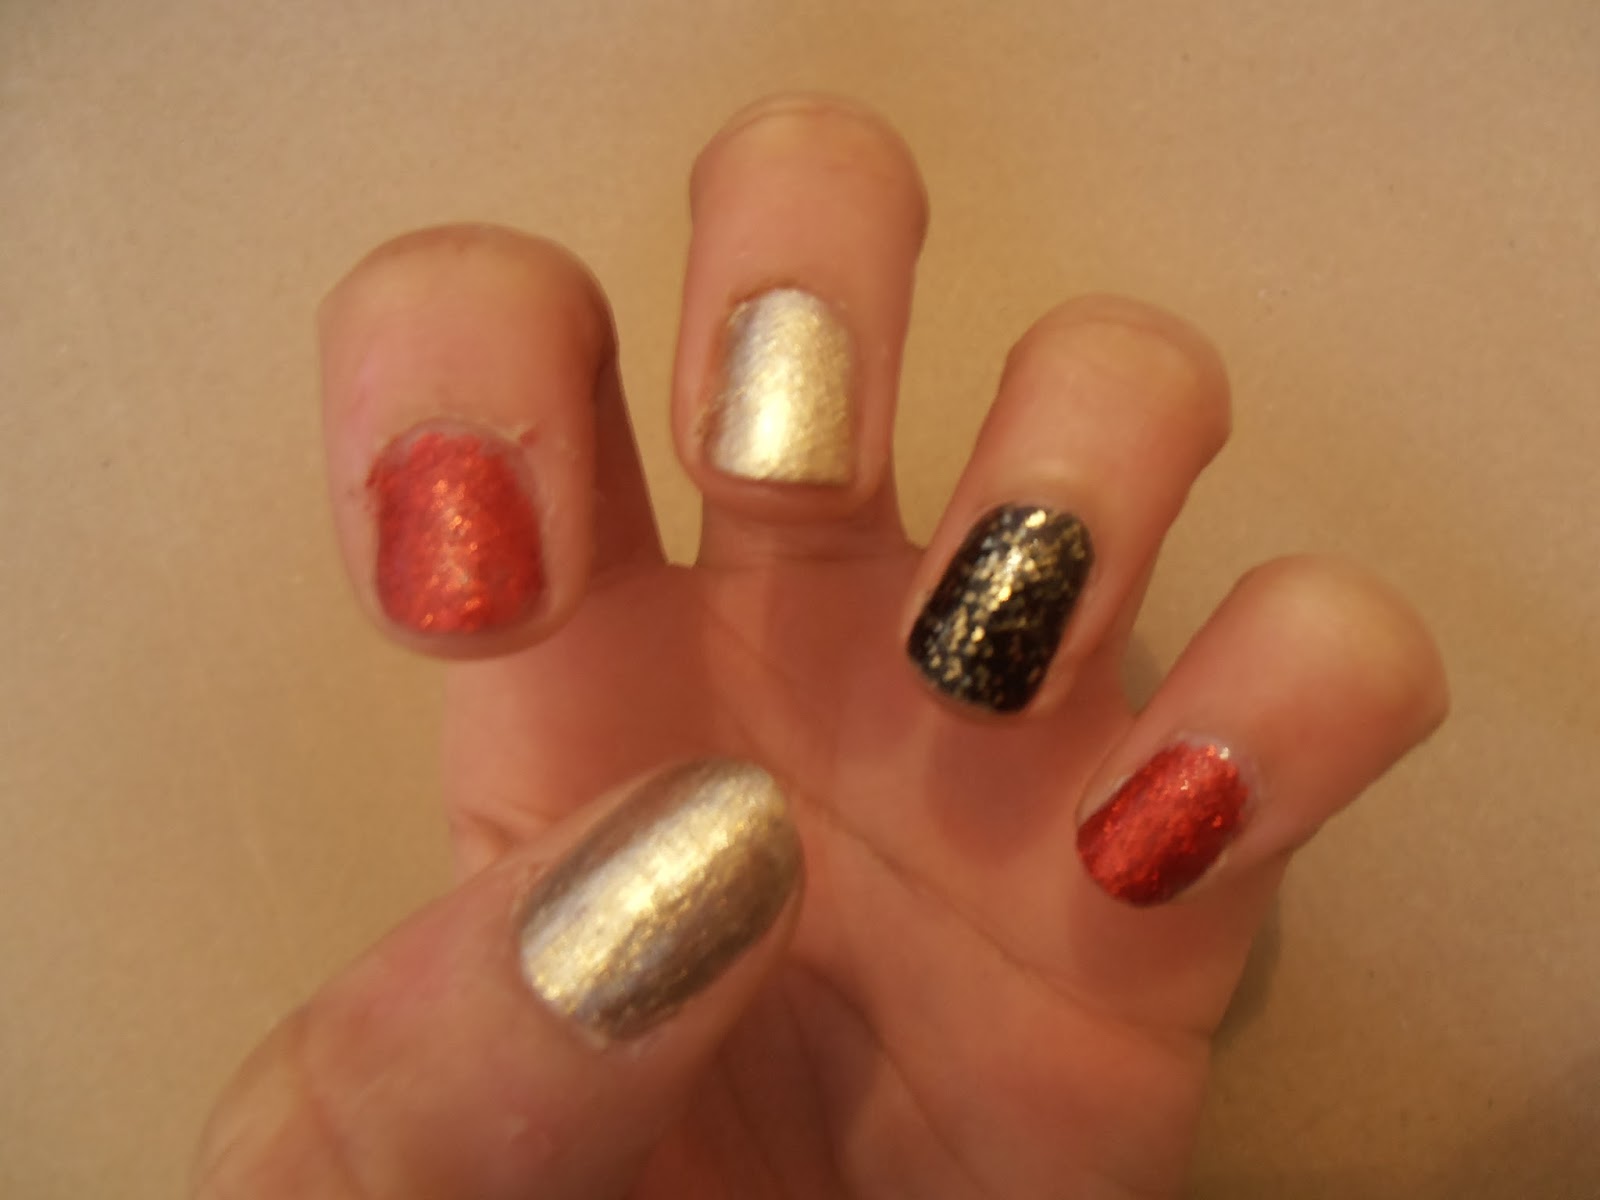
I paint my nails too often. This is a fact of life and one I am not at all ashamed by! With Christmas literally just around the corner, I thought I'd use some of my presents from last Christmas to create a simple Christmassy NOTD.
I've had a few Christmas related events recently, including a friend's Christmas party last Saturday, a day trip to Winter Wonderland and Oxford Street with one of my closest friends and an early Christmas day with family coming up on Monday. So I wanted some seasonal nail art that would work with multiple outfits and this is what I came up with: the perfect combo of glitz and glamour!
The Gold Mine Glitter and the Gold Foil varnish compliment each other perfectly and it isn't Christmas until there's a splash of glitter! Red is such a festive colour too, so two birds, one stone!
Have you any other Christmas nail art recommendations?
Jade :)
Better late than never, but this was the finished product! I was most proud of my zebra nail art though. It was painstakingly long to complete and I foolishly didn't practice before hand but the nails ended up looking okay! As usual my left hand far surpassed my right but I'd like to think both hands were passable.
Jade :)
It seems I change my nails more often than I change TV channels, not that I'm complaining - what's the point of buying nail varnish if you're not going to use it! Plus it gives me something to blog about since I can't really afford to buy anything new for the indeterminate future. Sob, sob, sob.
It's no secret that pink is far from my favourite colour but my Misstify nail varnish from Missguided, which I think I've blogged about before, is somehow still one of my firm favourites. Of course I couldn't wear a plain pink coat on my fingertips without at least trying to toughen it up a little bit. Cue another of my old faithfuls - Barry M crackle effect, in black.
The idea was to create some sort of Aztec-y style design on my nails. Fabulous idea.. in my head. Somewhat harder to paint on my nails! After a few failed attempts at drawing on a design, I gave up and nearly settled for plain, old pink. That resolution lasted all of three minutes and in a (very poor) attempt to be (somewhat) edgy and alternative, I swiped a quick flick of the crackle varnish across each nail and this was the end result! I actually kind of like it, it's not too try hard and okay, technically it's not nail art but it was super easy to do and a style anyone can achieve!
Happy Jade :)
Firstly, it feels so good to have a working laptop again! Well, partially working - we've actually had to order a new one since it would really not have been ideal for this one to completely conk out half way through my final year at uni! So I have that arriving to look forward to, though I'm a great barrier to change so trying to get used to Windows 8 is going to cause a bit of a problem!
As for my NOTD, hardly any problems were caused in creating this easy-to-do nail art. Spots and dots are done all the time but I like the simplicity of the design. I really wanted to make the most of my bright yellow Barry M varnish before summer leaves England for good and it's back to stuffing poorly painted autumnal nails into two pairs of gloves!
I used the yellow as the base and used the blunt end of a cheap wooden skewer (the type for BBQs!) to dip into the pink FCUK varnish.
It's bright, it's playful and so quick and easy to do. Dots are always my nail art back up and I love how these ones turned out. I'm always on the look out for new nail art designs to try, what are your favourites?
Jade :)
I'm not working much at the moment which means I finally get to spend time painting my nails. It's usually my go-to procrastination activity at uni so it was nice to take time and try something new now I'm at home. It's not exactly inventive but it was seriously simple and makes my nails look longer than they are. 2 birds, 1 stone!
I wanted to make the traditional french manicure a bit more summery, so a few splashes of the Sour Apple confetti worked a treat over the top.
The 3-in-1 base coat, top coat & hardener is probably one of the best things I've bought and I've got into a routine of applying it both before and after any coloured varnish I'm using. My nails have definitely strengthened recently because of it but the real challenge will be if I can keep my nails long and strong during my upcoming final year at university!
Today I started with the base coat and then painted the white tips as usual. Then after waiting for them to dry, I applied 2-3 layers of the confetti varnish over the tips and voila - a fruity french manicure! If only it smelt of apples too..
Anyone else a fan of the confetti polishes?
Jade :)
This week has been pretty decent actually - the sun is still shining, I got paid for a few shifts I did last week and I got to experiment with my new Barry M Confetti nail varnish. Top stuff!
 |
i. Treated myself to a True Blood boxset | ii. Getting fit (the fun way) | iii. Cheeky new pair of leggings
iv. Cheeky chops | v. Asos overload | vi. NOTD |
I love having lazy days in between working and I spent a good few hours reliving Season 5 of True Blood. Since I'm not allowed to wear nail varnish for work, I love having days off inbetween to pop some colour back on my man hands, and I'm loving finding new ways to wear my confetti polish. It's the simple things..
I'm off to visit family for the rest of this week so blog posts might be a little scarce. I am however hopefully popping into my student house up at uni somewhere along the line, mostly because I can't remember what on earth it looks like! I cannot wait to start getting things together to start decorating my room with - Pinterst, here I come.
Happy Wednesday,
Jade :)
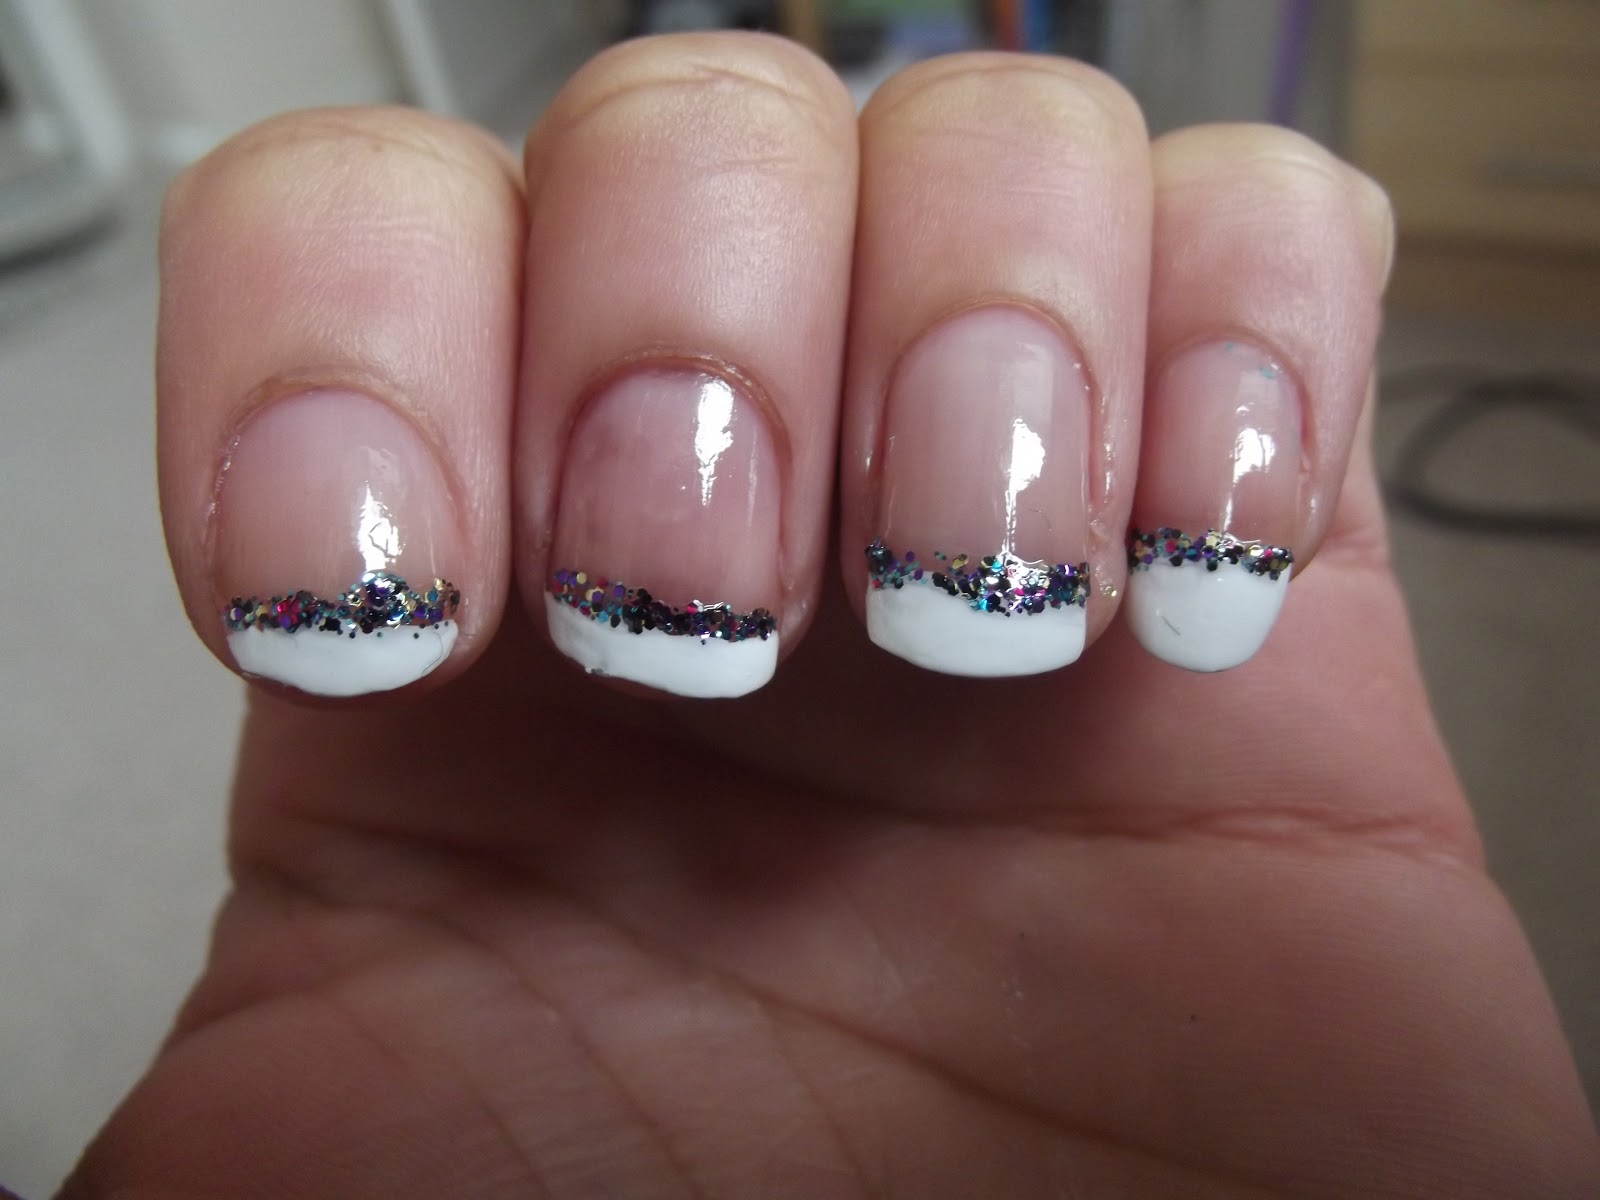
I'm procrastinating. With glitter. Or to be more specific, with Barry M's Amethyst Glitter (and friends.)
I feel a bit like a series one Ted Mosby: I have fallen in love with my new glittery purchase very, very quickly.
I like to think it's fate - my birthstone is Amethyst. Of course, I could instead just be loving the time it took me to paint my nails because I am running out of reasons to keep putting off my uni work, but I've been on a massive HIMYM hype this week and couldn't resist a Mosby mention.
I saw a design pretty similar to this on Instagram (only the one I saw was much better. Manly hands don't necessarily make for steady ones.) However, it goes to prove that if even I can make this look half decent, this design is pretty much a given for everyone else. Go you!
Putting on the glitz (I swear these jokes will stop soon) using my left hand ended up being annoyingly frustrating, and my right hand has a dodgy looking paint job on the thumb and forefinger as a result. But after a lot of perseverance (and mental proliferation) I managed a half decent job and from a distance, I actually like this design a lot.
It's pretty simple: a base coat followed by painting on the white tips. After the tips have dried, on goes the glitter and the best thing about this design is that the glitter hides the unsmooth application my french manicure usually produces. To top it off, add a top coat of clear nail varnish - I put on an extra top coat to be on the safe side.
So there you have it :) A bit of glitz is always good, right?
Jade :)